Have you ever looked at a beautiful horse in awe, wishing you could capture its beauty on paper? Well, you’re in luck! In this article, we will take you on a journey of creativity and learning as we guide you through the process of drawing a horse step-by-step. Whether you’re a beginner or a seasoned artist looking to refine your skills, this horse drawing tutorial is designed to help you achieve stunning and realistic results. So, grab your pencils, unleash your imagination, and let’s get started!
Key Takeaways:
- Learn how to draw a horse with easy-to-follow instructions
- Understand the importance of observing horse anatomy for realistic drawings
- Add depth and dimension to your horse drawing with shading and texturing techniques
- Create a complementary background to enhance your horse artwork
- Refine and add final touches to elevate your horse drawing to the next level
Gathering Your Drawing Materials
Before you start drawing, make sure you have all the necessary materials on hand.Gather your drawing paper, pencils, erasers, and any other tools or mediums you prefer to work with.Having everything ready will help you focus on the drawing process.
When it comes to horse art, having the right drawing materials is essential. Here are some must-have items:
- Drawing Paper: Choose a high-quality paper that’s suitable for your preferred medium.
- Pencils: Invest in a range of graphite pencils with different lead hardness for shading and detailing.
- Erasers: Have both kneaded and vinyl erasers to correct mistakes and add highlights.
- Charcoal or Pastels: Consider using charcoal or pastels for a different artistic effect.
- Ink Pens: Use ink pens for bold lines and ink washes to add depth to your horse art.
- Brushes: If you’re using watercolors or ink washes, have a selection of brushes for different effects.
- Blending Tools: Blending stumps, cotton swabs, or tortillons can help you achieve smooth textures.
Remember, finding the right materials for your horse art is a personal preference. Don’t be afraid to experiment and discover what works best for you.
Observing Horse Anatomy
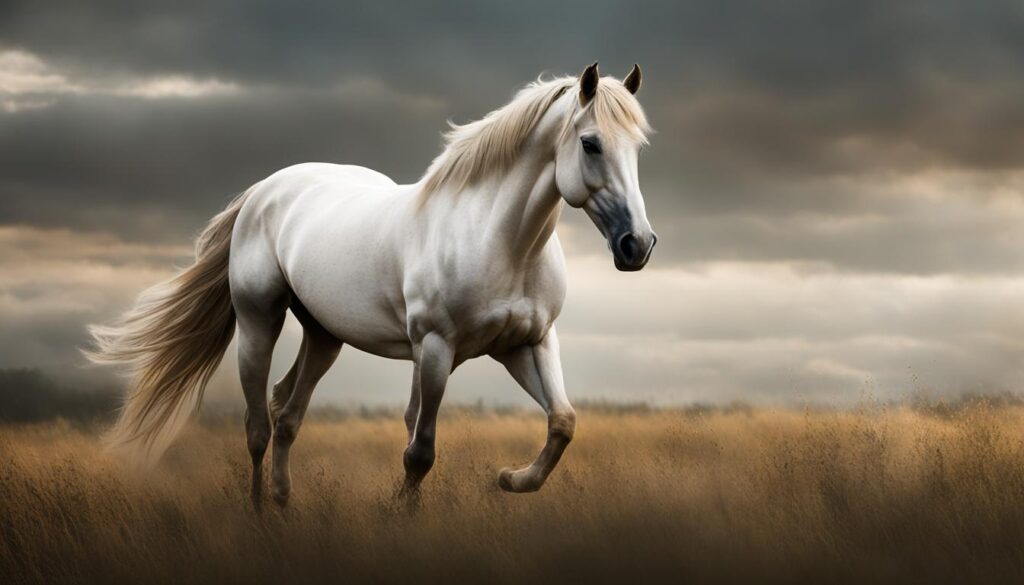
To create a realistic horse drawing, it’s important to understand the basic anatomy of a horse. By studying different horse reference images, you can familiarize yourself with the proportions and structures of their bodies, enabling you to accurately depict the features of a horse in your drawings.
When observing horse anatomy, pay attention to the following key elements:
- Skeletal Structure: Study the placement and proportions of bones in a horse’s body. This will help you create a solid foundation for your drawing.
- Musculature: Understand how the muscles are layered on top of the bones. This knowledge will allow you to add depth and realistic muscle definition to your horse drawings.
- Proportions: Take note of the size and relationship between different body parts. Pay attention to the length of the legs, the size of the head, and the shape of the body.
- Facial Features: Observe the intricate details of a horse’s face, such as the placement of the eyes, the shape of the ears, and the structure of the muzzle.
By closely examining horse anatomy and using reference images as a guide, you’ll be able to capture the grace and beauty of these majestic creatures in your artwork. Remember to practice and refine your skills over time to achieve the best results.
Now that you have familiarized yourself with horse anatomy, let’s move on to the next section, where we will delve into the process of starting your horse drawing with basic shapes.
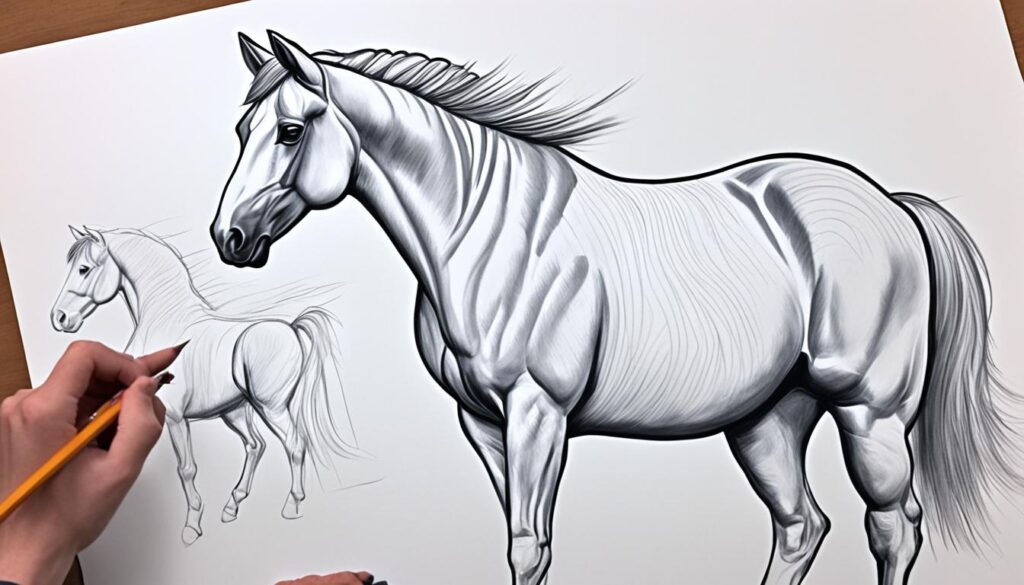
Starting with Basic Shapes
Before diving into the intricate details of a horse drawing, it’s important to establish a solid foundation. This can be achieved by starting with basic shapes that outline the body, head, and legs of the horse. By using circles, ovals, and rectangles, you can create a simple framework that will serve as a guide throughout the drawing process.
Begin by sketching a large oval for the body of the horse. This shape will determine the overall size and proportions of the animal. From there, use smaller circles and ovals to outline the head, neck, and legs. Connect these shapes with gentle curves to establish the basic structure of the horse.
For the head, you can start with a medium-sized circle, slightly flattened at the bottom. This circle will represent the horse’s muzzle. Add another circle above it for the forehead, connecting them with gentle curves to form the shape of the head.
To depict the legs, use elongated rectangles or ovals, depending on the desired stance of the horse. Remember to consider the horse’s posture and anatomy when sketching these shapes.
Once you have established the basic shapes, use light, confident strokes to refine and iterate on your initial framework. Don’t worry about adding intricate details at this stage; focus on capturing the overall form and proportion of the horse.
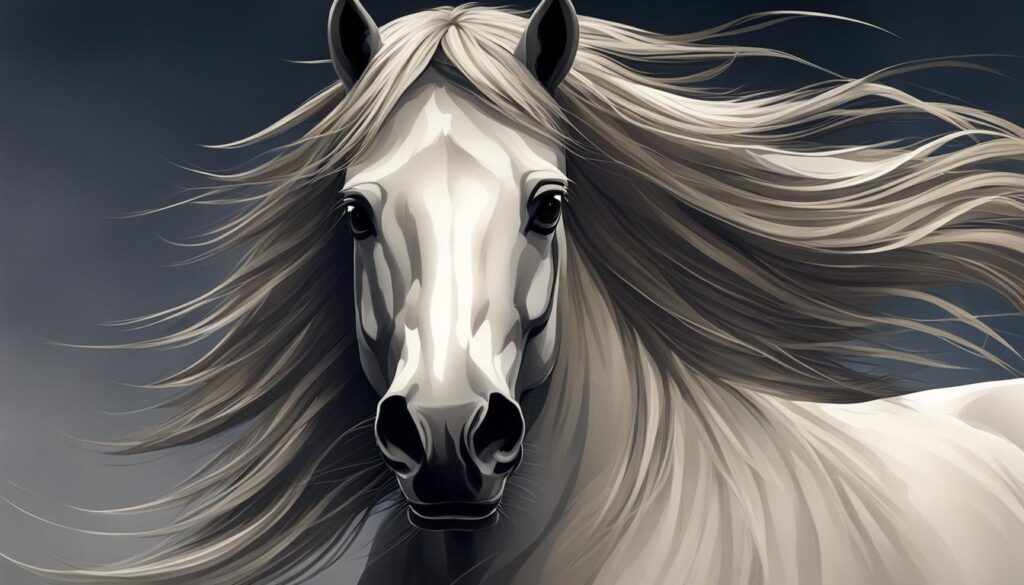
Adding Details and Features
Now that you have established the basic shapes of your horse drawing, it’s time to add those essential details and features that will bring your artwork to life. Pay close attention to the placement and proportions of the eyes, ears, nose, mouth, mane, and tail. These elements contribute to the overall character and beauty of your horse.
Start by carefully observing reference images or real horses to ensure accuracy. Take note of the unique shape and expression of the horse’s eyes, the intricate patterns and texture of the mane, and the flowing elegance of the tail.
Using light, confident strokes, outline and sketch these features onto your drawing. Use your pencil to lightly shade areas that require depth and dimension, such as the eyes and the underside of the mane.
Remember, don’t rush this process. Take your time to capture the essence of the horse and depict its distinct personality through these details. Every stroke you make contributes to the final result, so be patient and enjoy the journey of creating your horse drawing.
Shading and Texturing
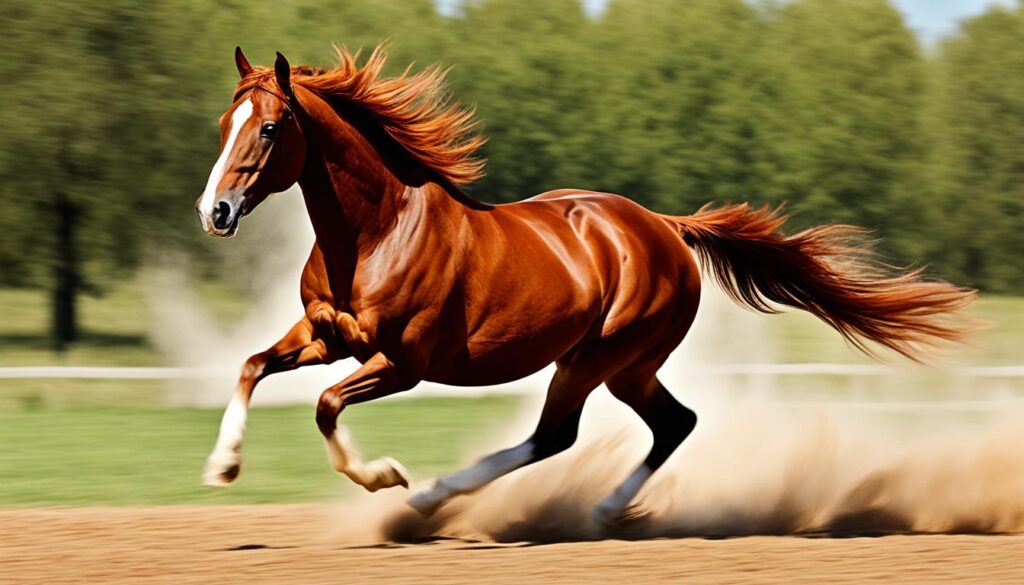
To give your horse drawing depth and dimension, shading techniques are crucial. By observing the light source, you can strategically add shadows to your drawing to achieve a more realistic look. Focus on capturing the texture of the horse’s fur by using various pencil strokes.
Experiment with different shading techniques to find the ones that work best for your desired effect. Whether it’s cross-hatching, stippling, or blending, each technique offers a unique way to bring your horse drawing to life.
Take the time to understand how light interacts with different surfaces of the horse’s body. Use darker shades for areas that are away from the light source, and lighter shades for areas that are directly exposed. By paying attention to these details, you can create a sense of volume and depth in your drawing.
Remember, practice is key to mastering shading and texturing. Take the opportunity to study reference images and observe how real-life horses display shadows and textures. With time and dedication, you will develop the skills necessary to create stunning horse drawings that capture the essence of these majestic creatures.
Highlighted Shading Techniques:
- Cross-hatching: This technique involves drawing parallel lines in different directions to create shading and texture.
- Stippling: By using small dots or specks, stippling can add texture and depth to your horse drawing.
- Blending: Use a blending tool or your fingertips to smudge graphite or charcoal, creating smooth transitions between shades.
- Hatching: Hatching involves drawing parallel lines that follow the contours of the horse’s body, creating shading and texture.
Adding the Background
Enhance your horse drawing by adding a background. Consider the environment in which you want your horse to be situated. It could be a pasture, a stable, or a scenic landscape. Practice landscape drawing techniques to create a complementary background that enhances the overall composition.
Adding a well-executed background to your horse drawing can bring it to life and provide context for the subject. A horse drawing background could include elements such as rolling hills, trees, a barn, or even other animals. The key is to create a scene that complements and harmonizes with your horse drawing.
A beautiful landscape can create depth and add visual interest to your artwork. To create a realistic and engaging background, observe and study reference images or photographs of landscapes. Pay attention to the use of colors, lines, and textures to capture the unique characteristics of the setting.
When adding the background to your horse drawing, remember to maintain a balance between the foreground (the horse) and the background. You want the focus to remain on the horse while still giving the surrounding environment its due attention.
Consider the lighting and atmosphere of the scene. Are you trying to depict a bright and sunny day, a serene sunset, or a misty morning? Adjust your shading and color choices accordingly to create a realistic representation of the desired atmosphere.
Remember, the background should complement and enhance your horse drawing, not overpower it. Practice using different drawing techniques to create textures for foliage, skies, or any other elements you include in the background. The goal is to create a cohesive and visually appealing artwork that showcases both the horse and its surroundings.
Refining and Editing
Now that you have completed the initial sketch of your horse drawing, it’s time to refine and edit your artwork. Take a step back and assess your work with a critical eye. Look for any areas that may need refinement or adjustment to improve the overall appearance of your drawing.
Use your eraser as a valuable tool to make corrections and achieve the desired result. Whether it’s adjusting proportions, reshaping contours, or refining details, don’t be afraid to make changes and experiment until you are satisfied with the final outcome.
Remember, the process of refining and editing is an essential part of creating art. It allows you to add polish to your drawing and bring out your unique style and vision. Take your time, be patient, and trust your artistic instincts.
As you refine and edit your horse drawing, consider the following tips to help you achieve the best results:
- Focus on the overall composition: Ensure that the elements of your drawing are well-balanced and harmonious.
- Pay attention to the details: Refine the features of the horse, such as the eyes, nostrils, mouth, and mane, to capture their unique characteristics.
- Adjust the shading: Evaluate the light source and make necessary adjustments to create realistic shadows and highlights.
- Evaluate the proportions: Check if the proportions of the horse’s body, head, and limbs are accurate and make adjustments if needed.
- Consider the use of references: If you are unsure about a specific detail, refer to horse anatomy references or real-life horse images to ensure accuracy.
Remember, the goal is to refine and enhance your horse drawing without losing its essence. It’s all about finding the right balance between realism and artistic interpretation.
Quote:
“In art, the smallest details can make the biggest difference. Take your time and give your horse drawing the attention it deserves.” – Jane Thompson, Professional Artist
Once you are satisfied with the refined version of your horse drawing, it’s time to move on to the final step â adding those finishing touches that will truly make your artwork shine.
Adding Final Touches
As you near the completion of your horse drawing, it’s time to add those final touches that will truly enhance its overall look. These final touches will give your artwork that extra level of detail and realism that will make it stand out.
One of the key aspects to focus on is adding more details to your horse drawing. Look closely at the reference image or visualize the features you want to emphasize. Is there a particular muscle definition you want to highlight? Or perhaps you want to capture the texture of the horse’s coat? Pay attention to these finer details and use your pencil to add the necessary lines and strokes to bring them to life.
Another important aspect to consider is adjusting the shading in your horse drawing. Shading is what gives your artwork depth and dimension, so take some time to observe the light source and add shadows accordingly. Use different grades of pencils to achieve varying levels of darkness and create a realistic effect that adds richness to your drawing.
Refining specific features is another crucial step in adding those final touches to your horse drawing. Take a step back, evaluate the proportions, and make any necessary adjustments. Perhaps the muzzle needs a bit more refinement, or the eyes need some extra depth. Use your eraser and pencil to make these subtle changes and ensure that every feature is accurately represented.
Finally, pay close attention to the small nuances that make your artwork stand out. These can include delicate reflections in the horse’s eyes, subtle highlights in the mane, or intricate patterns in the coat. These art details can make a significant difference in the overall impression of your drawing, so take the time to add them thoughtfully.
“The difference between something good and something great is attention to detail.” – Charles R. Swindoll
Remember, the final touches on your horse drawing can truly elevate it from a simple illustration to a remarkable piece of art. So take your time, enjoy the process, and focus on those art details that will make your horse drawing shine.
Tips for Adding Final Touches
- Take breaks and step back to gain a fresh perspective.
- Compare your drawing to the reference image to ensure accuracy.
- Experiment with different pencils and shading techniques.
- Use a kneaded eraser to lift out highlights and create subtle texture.
- Pay attention to the overall composition and balance of your drawing.
Conclusion
Congratulations! You have completed our step-by-step guide on how to draw a horse. We hope this article has inspired you to explore your artistic abilities and create beautiful horse drawings.
Remember, practice makes perfect, so keep honing your skills and enjoy the process of creating. Whether you are a beginner or have some drawing experience, this guide has provided you with the knowledge and techniques to bring a horse to life on the page.
So grab your drawing materials and let your creativity flow. With each stroke of the pencil, you can capture the grace, power, and beauty of these magnificent creatures. Happy drawing!
FAQ
How do I draw a horse?
To draw a horse, start by sketching basic shapes like circles, ovals, and rectangles to outline the body, head, and legs. Then, add details like the eyes, ears, nose, mouth, mane, and tail. Use shading and various pencil strokes to create depth and texture. Finally, consider adding a background to enhance your artwork.
What materials do I need for horse drawing?
To draw a horse, gather your drawing paper, pencils, erasers, and any other tools or mediums you prefer to work with. Having everything ready will help you focus on the drawing process.
How important is it to understand horse anatomy for drawing?
Understanding horse anatomy is essential for creating a realistic horse drawing. Study horse reference images to familiarize yourself with the proportions and structures of their bodies. This knowledge will help you accurately depict the features of a horse in your drawing.
How do I add details and features to my horse drawing?
Start by sketching the basic shapes and then gradually add details like eyes, ears, nose, mouth, mane, and tail. Take your time and use light, confident strokes to bring your horse to life on the page.
What techniques can I use for shading and texturing in my horse drawing?
To give your horse drawing depth and dimension, use shading techniques. Observe the light source and add shadows accordingly. Additionally, pay attention to the texture of the horse’s fur and use various pencil strokes to create a realistic effect.
How do I create a background for my horse drawing?
Enhance your horse drawing by adding a background that complements the scene. Consider the environment in which you want your horse to be situated. Practice landscape drawing techniques to create a background that enhances the overall composition.
What should I do if I need to refine or edit my horse drawing?
Step back and assess your horse drawing. If you notice any areas that need refinement or adjustment, use an eraser to make corrections and improve the overall appearance of your artwork. Don’t be afraid to experiment and make changes until you are satisfied with the final result.
How can I add final touches to my horse drawing?
As you near the completion of your horse drawing, add any final touches to enhance its overall look. This could include adding more details, adjusting shading, or refining specific features. Pay attention to the small nuances that make your artwork stand out.
What should I do once I have completed my horse drawing?
Congratulations on completing your horse drawing! Take a moment to appreciate your artwork and be proud of your accomplishment. Remember, practice makes perfect, so continue honing your skills and enjoy the process of creating beautiful horse drawings.