Easy Guide: How to Draw Bats Step-by-Step
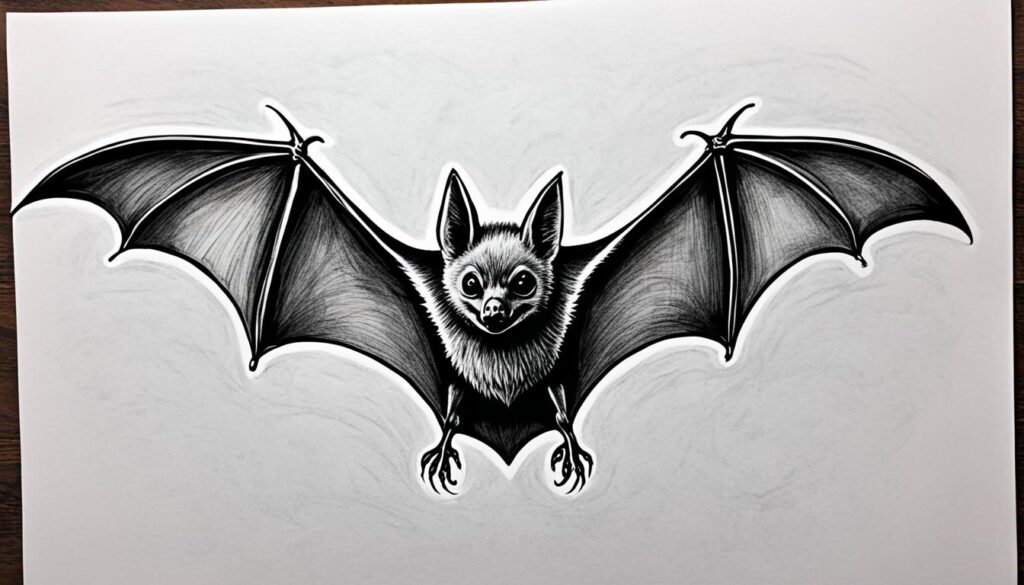
Have you ever found yourself captivated by the mysterious allure of bats? Their graceful flight and enigmatic nature have fascinated humans for centuries. Whether you’re an aspiring artist, a nature enthusiast, or simply someone looking for a new creative outlet, learning to draw bats can be a thrilling and fulfilling experience. Imagine the joy of bringing these nocturnal creatures to life on paper, capturing their intricate details and unique personalities. With a few simple techniques and a touch of inspiration, you can unlock your artistic potential and create stunning bat drawings that truly reflect your passion for these fascinating creatures. In this easy guide, we will take you on an artistic journey, unveiling the secrets of bat drawing step by step. Whether you’re a beginner or looking to enhance your skills, these instructions will empower you to create realistic and captivating bat illustrations. So, grab your pencil, unleash your creativity, and let’s dive into the mesmerizing world of bat drawing. Key Takeaways: Learn the step-by-step process of drawing bats, from basic shapes to intricate details. Discover beginner-friendly tutorials and techniques to improve your bat drawing skills. Explore creative ideas and inspiration to bring your bat illustrations to life. Get valuable tips and tricks to enhance your bat drawings with shading, texture, and more. Learn how to showcase your bat artwork and share it with the world. Bat Drawing Tutorial for Beginners If you’re new to the world of drawing bats, fear not! This tutorial is tailored just for you. By following these simple steps, you’ll learn the basic techniques to create your very own bat artwork. So grab your pencil and let’s get started! Gather Your Materials Before we dive into the tutorial, gather the essential materials you’ll need: Pencil Eraser Drawing paper Step 1: Basic Shapes Start by sketching the basic shapes that form the foundation of your bat drawing. Begin with an oval for the body and add two triangles on top for the ears. Use light, loose lines at this stage, as we’ll refine them later. Step 2: Outlines and Details Once you’re satisfied with the basic shapes, it’s time to outline the bat’s body and add details. Draw the wings, making sure to capture their distinctive structure. Add small, triangular shapes for the fingers and emphasize the bat’s facial features, such as the eyes and mouth. Step 3: Shading and Texture To give your bat drawing depth and dimension, incorporate shading and texture. Use cross-hatching or gentle strokes to add shadows to the wings and body, giving them a realistic appearance. Pay attention to the fur-like texture on the body and wings, adding small, curved lines to mimic the texture of bat fur. Step 4: Final Touches Now it’s time to add the final touches to your bat artwork. Erase any unnecessary lines and refine the details to make them more defined. For a finishing touch, you can experiment with different drawing techniques to add depth and highlights to your drawing. Pro Tip: Don’t be afraid to add your own personal style and creativity to your bat drawing. Whether it’s adding patterns to the wings or incorporating unique colors, let your imagination soar! Step 5: Practice Makes Perfect Remember, practice is crucial when it comes to improving your drawing skills. Keep experimenting, trying new techniques, and exploring different bat poses and angles. The more you practice, the better you’ll become at drawing bats! Step-by-Step Bat Drawing Are you ready to bring your bat drawings to life? In this section, we will guide you through the step-by-step process of drawing a bat. From the initial sketch to the final details, you’ll learn the techniques to create a realistic bat illustration. Let’s get started! Gathering Your Materials Before you begin, make sure you have the following materials: Pencil Paper Eraser Black pen or marker Step 1: Sketching the Basic Shapes Start by sketching the basic shapes of the bat. Begin with an oval for the body and a smaller oval or circle for the head. Then, draw curved lines to outline the wings and ears. Don’t worry about adding details just yet; focus on getting the proportions and overall shape right. Step 2: Adding Details Now, it’s time to add details to your bat drawing. Start by defining the wings with curved lines. Next, draw the face by adding eyes and a mouth. Don’t forget to include the bat’s iconic ears! Once the primary features are in place, you can also add claws and fur texture to make your bat drawing more realistic. Step 3: Shading and Texture To add depth and dimension to your bat drawing, incorporate shading and texture. Use hatching or cross-hatching techniques to create shadows and give the illusion of volume. Pay attention to the areas where light would hit and cast shadows. Additionally, add texture to the bat’s wings by varying the pressure and direction of your pencil strokes. Step 4: Inking Your Drawing Once you’re satisfied with your pencil drawing, it’s time to ink it. Trace over the finalized lines with a black pen or marker to make them stand out. Be careful and take your time while inking to ensure smooth and clean lines. You can erase any remaining pencil lines after the ink has dried. Step 5: Coloring Your Bat If you want to add color to your bat drawing, use colored pencils, markers, or watercolors to bring it to life. Select shades of gray or black for a realistic look, or get creative with vibrant colors. Remember to blend and layer the colors to achieve a smooth and professional finish. Step 6: Final Touches Lastly, it’s time for final touches and refinements. Take a step back and assess your bat drawing. Are there any areas that need more detail or adjustments? Use your eraser to remove any stray marks, and add any additional shading or highlights to enhance the overall appearance of your bat illustration. With practice and patience, you’ll soon master the art of drawing bats. Remember,
Easy Guide: How to Draw Bats Step-by-Step Read More »